

Gipfeli Recipe: The Traditional Swiss Croissant You Must Try

Swiss cuisine is renowned for its precision, simplicity, and distinct flavors. One such treat that has captured the hearts of many is gipfeli, the Swiss version of the croissant. If you’re someone who appreciates delicate pastries and a rich cultural history, then making your own gipfeli at home will surely be an enriching experience. In this article, we’ll explore everything you need to know about the gipfeli recipe, from its origins to the step-by-step process of making it. Whether you’re a baking novice or an expert, this recipe will help you achieve a perfect Swiss gipfeli every time.
What is a Gipfeli?
Before diving into the recipe, it’s essential to understand what a gipfeli is. In Switzerland, gipfeli is a beloved breakfast pastry, similar in shape to a croissant, but typically softer and less flaky. Its buttery, slightly sweet dough is what makes it irresistible to anyone who tries it. The gipfeli is often enjoyed with jam, honey, or even cheese, making it a versatile option for different tastes.
The Origins of Gipfeli recipe
The gipfeli has an interesting history that goes hand-in-hand with the evolution of Swiss baking. While croissants are typically associated with France, the gipfeli has its roots in the 19th century. The Swiss version was inspired by the French croissant, but with a few modifications to suit local tastes. Over time, the gipfeli became a popular choice for breakfast in Switzerland, often paired with a warm cup of Swiss coffee.
Ingredients for the Perfect Gipfeli recipe
To get started on making gipfeli, you’ll need a few basic ingredients. These are easy to find in most grocery stores and are the backbone of this delicious pastry. Here’s what you’ll need:
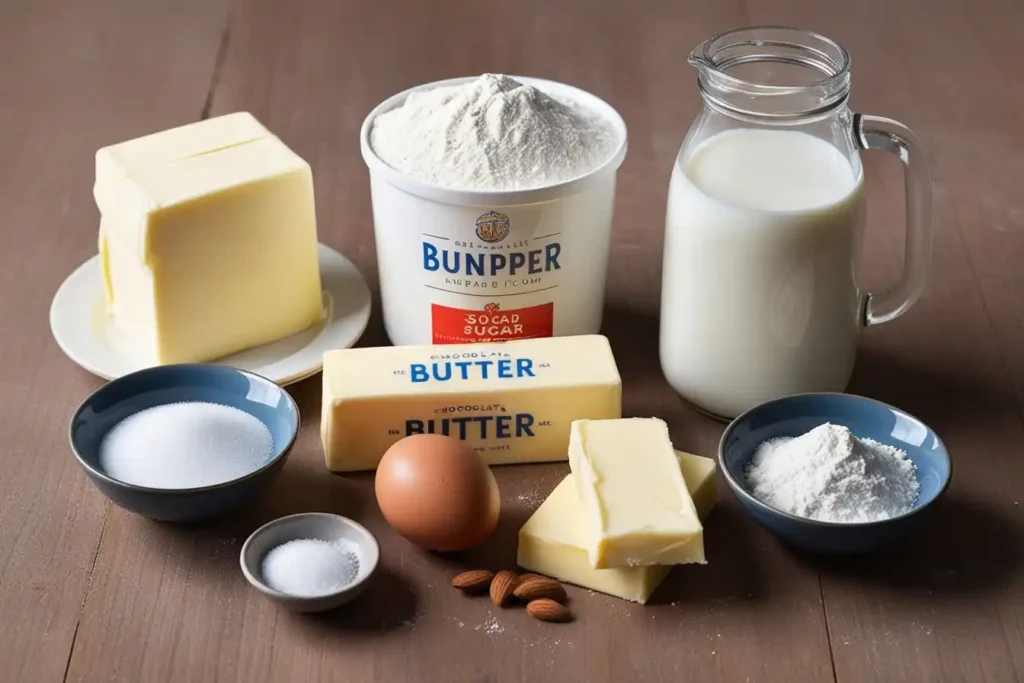
- 500g of all-purpose flour
- 250g of butter (cold and cut into small cubes)
- 10g of salt
- 50g of sugar
- 25g of yeast (fresh or dry)
- 250ml of milk (lukewarm)
- 1 egg (for egg wash)
- A pinch of salt (for the dough)
- Optional filling: chocolate, almond paste, or fruit preserves
These ingredients will yield enough dough for around 12 gipfeli, but you can adjust the quantities depending on how many you plan to bake.
Step-by-Step Instructions for Making Gipfeli Recipe
Now that you have all your ingredients ready, it’s time to start baking! Follow these simple steps to make your own delicious gipfeli:
Step 1: Activate the Yeast
Begin by warming the milk in a saucepan until it’s lukewarm. Sprinkle the yeast over the milk and let it sit for about 5–10 minutes. You should see bubbles forming on the surface, which indicates that the yeast is activated.
Step 2: Mix the Dough
In a large mixing bowl, combine the flour, salt, and sugar. Create a well in the center, then pour the yeast mixture into the well. Begin mixing the ingredients together, incorporating the flour into the liquid. Continue kneading the dough for about 10 minutes, until it becomes smooth and elastic.
Step 3: Chill the Dough
Once the dough is well-kneaded, wrap it in plastic wrap and place it in the refrigerator for about 1 hour. This chilling step will help the dough rise slowly and give the gipfeli its signature light and airy texture.
Step 4: Roll Out the Dough
After the dough has chilled, transfer it to a floured surface and roll it out into a rectangular shape. The dough should be about 1/4 inch thick. Cut the dough into long, even strips. These strips will form the individual croissants.
Step 5: Shape the Gipfeli
To shape the gipfeli, take each strip and cut it into triangles. Starting from the wide end, roll each triangle tightly toward the point to create a crescent shape. Gently curve the ends of the gipfeli inward to form the signature crescent shape. Repeat this process with all of your dough pieces.
Step 6: Proof the Gipfeli
Once you’ve shaped the gipfeli, place them on a baking sheet lined with parchment paper. Make sure to leave some space between each pastry, as they will expand while baking. Let the gipfeli proof for about 30–45 minutes at room temperature, allowing them to rise and become fluffy.
Step 7: Apply the Egg Wash
While your gipfeli are proofing, preheat your oven to 180°C (350°F). In a small bowl, beat the egg and brush a thin layer of the egg wash over the top of each pastry. This will give your gipfeli a beautiful golden color once baked.
Step 8: Bake the Gipfeli
Place the proofed gipfeli in the preheated oven and bake for 15–20 minutes, or until they are golden brown. The baking time can vary depending on your oven, so be sure to keep an eye on the pastries as they bake.
Step 9: Cool and Serve
Once your gipfeli are done, remove them from the oven and allow them to cool on a wire rack for a few minutes. Serve them warm with your favorite jam, cheese, or a dusting of powdered sugar. Enjoy your homemade Swiss pastry!
Tips for Perfecting Your Gipfeli Recipe
- Butter Quality: Since gipfeli is a buttery pastry, using high-quality butter will make a significant difference in flavor.
- Dough Temperature: It’s crucial to keep the dough cool during the preparation process. This will help the butter maintain its texture and create the desired flakiness.
- Filling Options: Feel free to get creative with the filling. You can add chocolate chips, almond paste, or fruit preserves to the center of each gipfeli before rolling them up.
- Resting Time: Don’t skip the resting and proofing times. This allows the dough to rise slowly, resulting in a tender and airy texture.
Variations of the Gipfeli Recipe
While the traditional gipfeli recipe calls for a plain dough, there are many variations to try. Here are some ideas to mix up your gipfeli game:
- Chocolate Gipfeli: Add a small piece of dark chocolate to the center of each triangle before rolling them up.
- Almond Gipfeli: Spread a layer of almond paste on the dough before shaping them.
- Fruit-Filled Gipfeli: Add a spoonful of fruit preserves, such as raspberry or apricot, for a sweet, tangy twist.
How to Store Gipfeli
If you have any leftover gipfeli, you can store them in an airtight container at room temperature for up to 2 days. For longer storage, consider freezing them. Simply wrap them tightly in plastic wrap and store them in a freezer bag. When you’re ready to enjoy them again, reheat in the oven at a low temperature for a few minutes to bring them back to life.
Why You Should Try This Gipfeli Recipe
Making gipfeli at home is an enjoyable and rewarding experience. The process may take a bit of time, but the results are well worth the effort. Homemade gipfeli are fresher and more delicious than anything you can find in a bakery, and they can be customized to suit your taste.
Additionally, creating your own gipfeli allows you to embrace Swiss culinary traditions and share them with your loved ones. Whether you’re preparing a special breakfast for family or hosting a brunch gathering, these pastries are sure to impress.
Conclusion
In conclusion, making your own Croissant is a fun and rewarding experience that introduces you to the flavors of Switzerland. By following this easy recipe and experimenting with different fillings, you can create a truly unique pastry that’s perfect for any occasion. The crispy, buttery exterior combined with a soft, tender interior is the hallmark of a well-made gipfeli. Enjoy your Swiss croissants, and don’t forget to share them with family and friends—after all, good food is meant to be shared!
If you’re ready to continue exploring the world of intense, flavor-packed dishes, be sure to check out more of our recipes. Embrace the thrill of cooking with bold ingredients and discover new ways to elevate your meals!
Discover More Delicious Recipes to Try!
If you loved making Gipfeli, why stop here? From crispy croissants to fluffy brioche, savory Swiss treats, and sweet indulgences, there’s always something new to try in the kitchen. Below, you’ll find a collection of mouthwatering recipes, each with a stunning image and a tempting description to spark your inspiration. Click on any recipe to uncover its secrets and bring even more delicious creations to your table! 🍽️✨
- 10 Must-Try Italian Cooking Recipes Loved by Chefs

- Mexican Cooking Recipes for Beginners: Simple Steps to Bold Flavors

- Easy Carnivore Diet Recipes with 5 Ingredients or Less

- Top 15 Carnivore Diet Recipes That Actually Taste Amazing

- 15 Delicious Cuisinart Ice Cream Maker Recipes You Need to Try

- Top 5 Sugar Free Ice Cream Flavors You’ll Love

- Copycat Chick-fil-A Waffle Fries Recipe – Step-by-Step Perfection

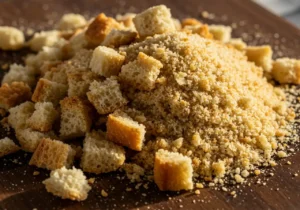
- How to Make the Best Bread Crumbs for Your Favorite Dishes
- How to Make the Perfect Ice Cream Cone : Tips, Tricks & Delicious Recipes

- Bluey Cake Tutorial: How to Create the Perfect Themed Cake for Kids’ Parties

- Swordfish Steak Recipe: How to Get It Perfect Every Time

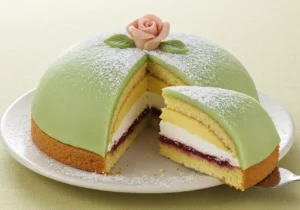
- Princess Cake Recipe: How to Make the Perfect Swedish Prinsesstårta
- Nanalan Cake Recipe: How to Make This Adorable and Nostalgic Treat

- DIY Minecraft Cake: How to Make the Perfect Pixelated Treat

- Authentic Terra Massoud Recipe: A Step-by-Step Guide to Perfection

- How to Make Chocolate Gravy from Scratch Quick and Easy Guide

- How to Make the Perfect Tini Mac and Cheese – Step-by-Step Guide

- Taste of Home Recipes: 25 Comforting Dishes That Feel Like a Warm Hug
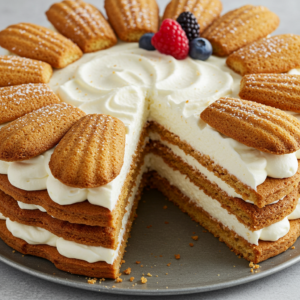
- Easy Ways to Customize Your Madeleine using cream cake
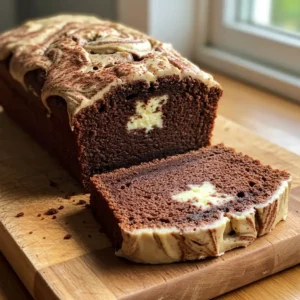
- How to Make Gordon Ramsay’s Chocolate Cream Cheese Pound Cake
- Green Pumpkin Cooking Guide: 10+ Asian Recipes for Savory Delights