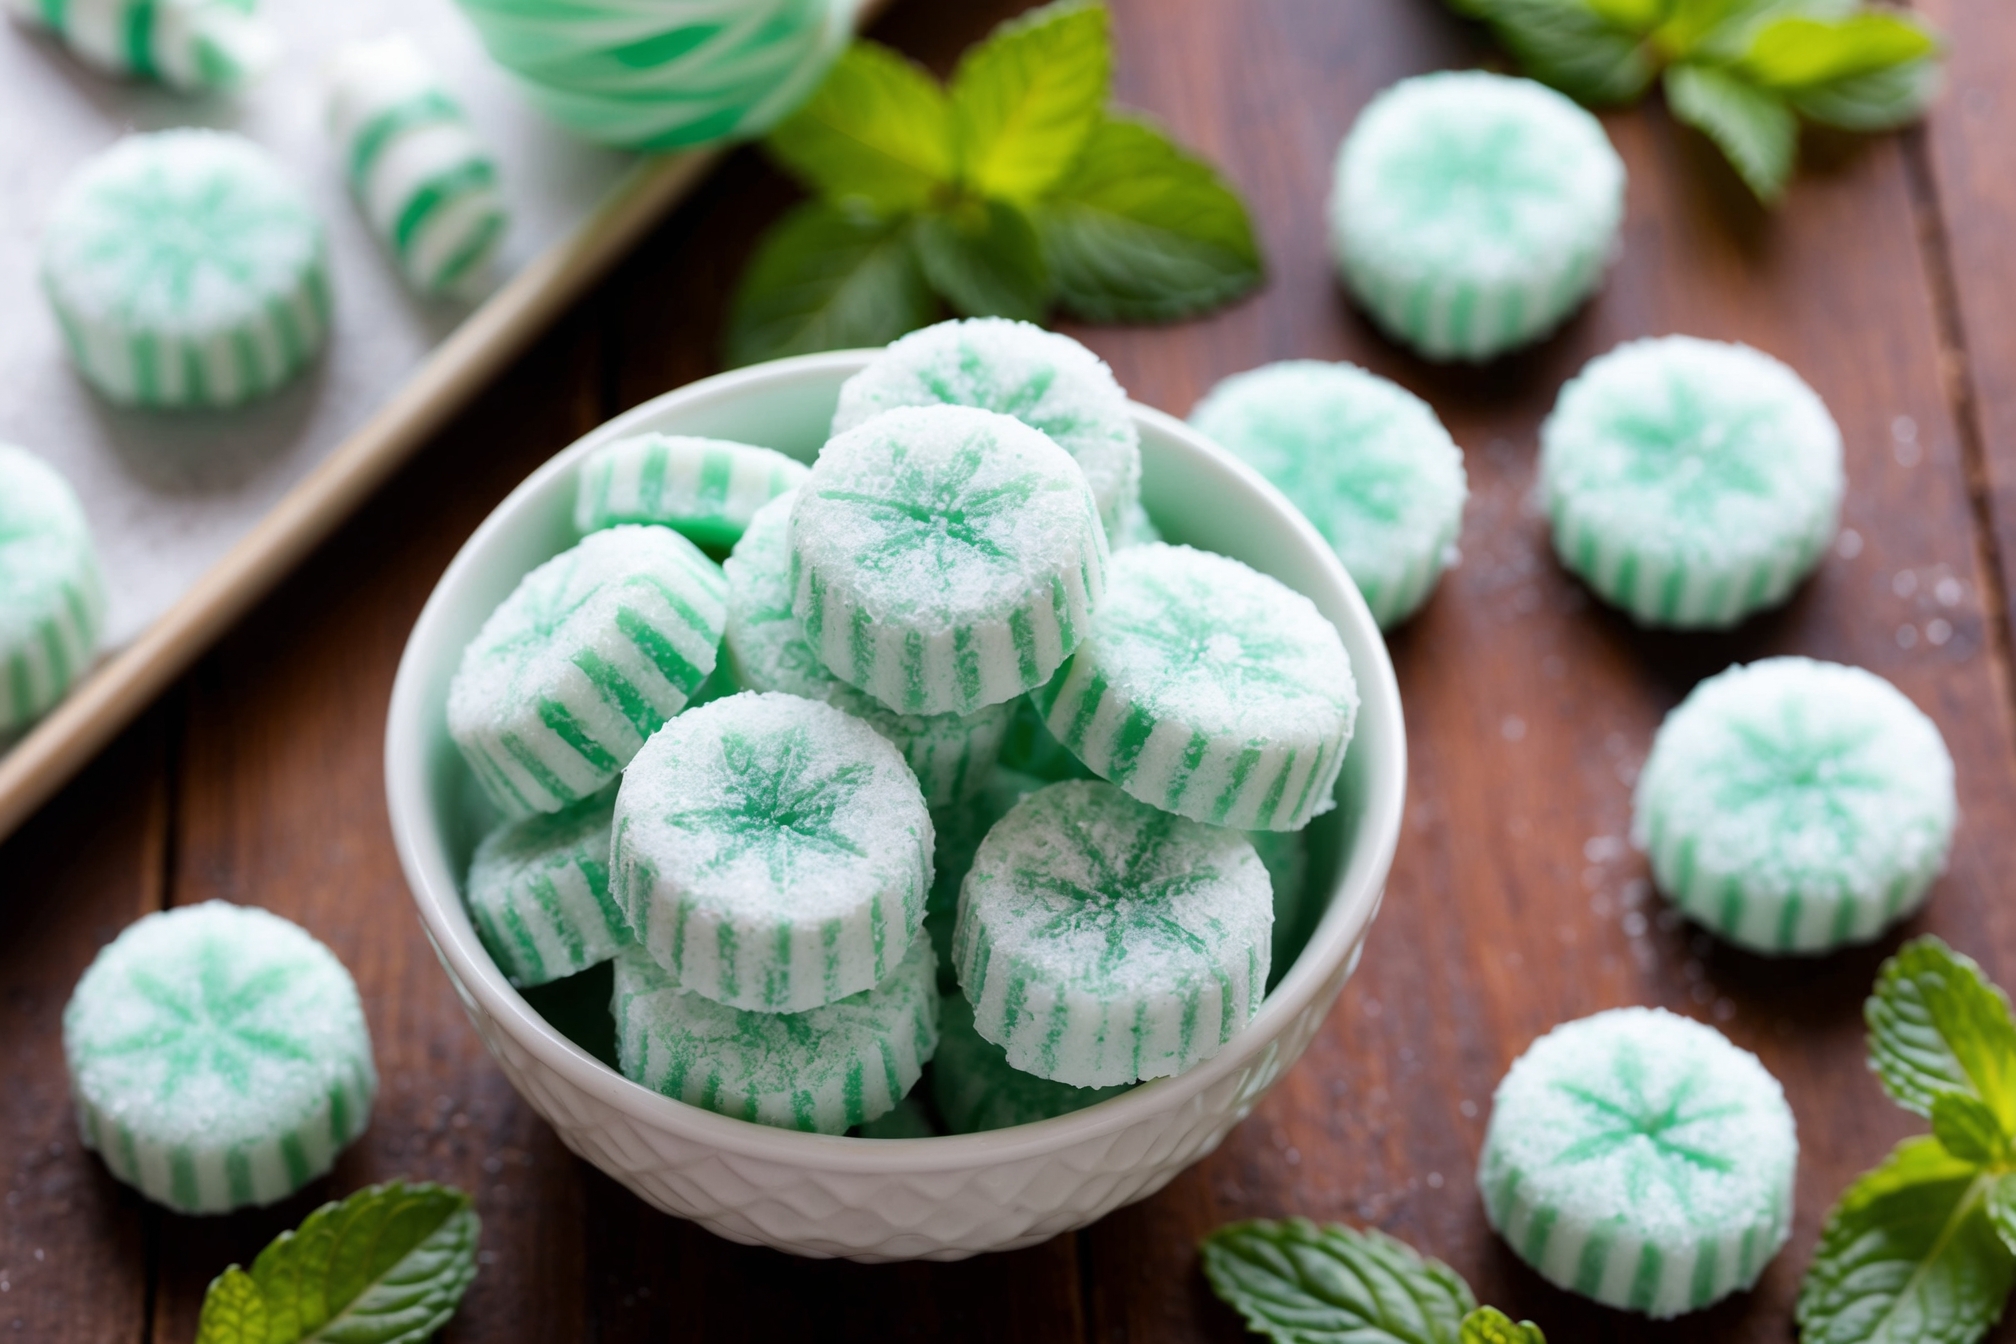
Mints : A Sweet Treat That’s Easy to Make at Home

Mint candies are a timeless treat—refreshing, sweet, and perfect for any occasion. Whether you’re preparing them for a family gathering, a party, or just a fun activity to try at home, learning how to make mints is a rewarding experience. In this article, we’ll walk you through a step-by-step guide to creating delicious homemade mints, share tips for variations, and even suggest ways to use them creatively. Let’s dive into the world of mints!
What Are Mints and Why Make Them at Home?
Mints are small, sweet candies that often carry a burst of fresh, cooling flavor. They’re commonly enjoyed as breath fresheners, after-dinner treats, or decorative additions to dessert tables. Making your own mints at home allows you to customize the flavors, colors, and shapes, giving you a versatile and fun recipe for any occasion. Plus, homemade mints are free of artificial additives and preservatives.
Ingredients You’ll Need for Homemade Mints
Creating homemade mints requires only a handful of simple ingredients. Here’s what you’ll need:

- Powdered Sugar (Confectioner’s Sugar): The base of your mint mixture.
- Cream Cheese: Adds richness and binds the ingredients together.
- Peppermint Extract: For that classic, refreshing mint flavor.
- Food Coloring: Optional, for adding a pop of color to your mints.
- Granulated Sugar: For rolling and coating your mints.
Tools You’ll Need
Before starting, gather these basic tools to ensure a smooth process:
- A large mixing bowl
- Electric mixer or hand whisk
- Parchment paper
- Rolling pin (optional)
- Small cookie cutters or molds for shaping
Step-by-Step Guide to Making Mints
1. Prepare Your Ingredients
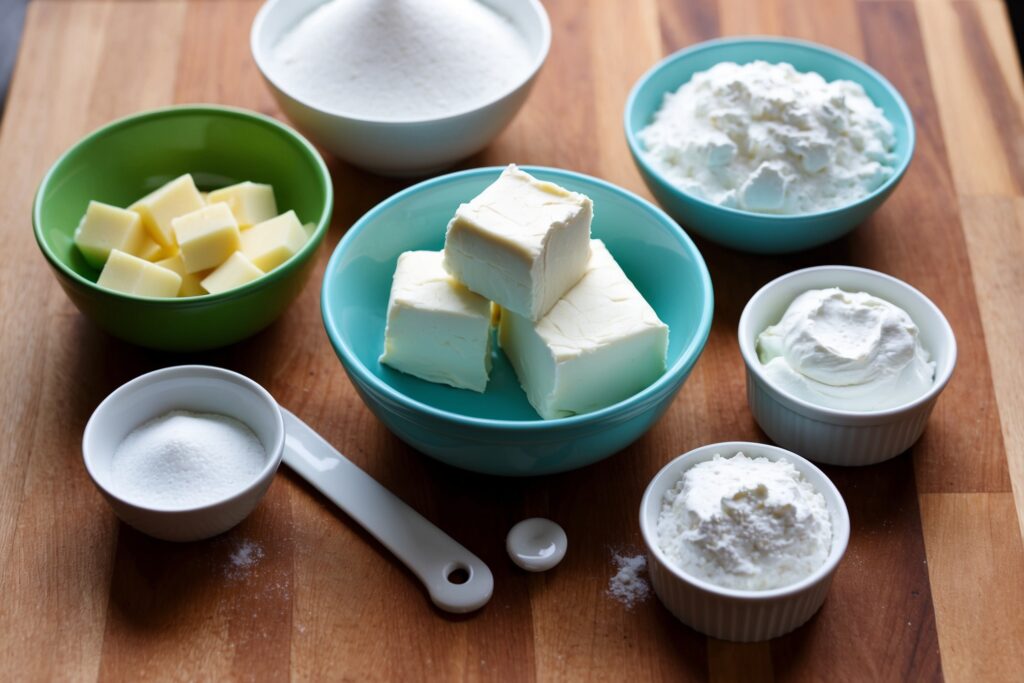
Ensure all your ingredients are at room temperature, especially the cream cheese. This makes mixing easier and helps achieve a smooth, consistent texture.
2. Mix the Base Dough

In a large bowl, beat the cream cheese until smooth. Gradually add powdered sugar, one cup at a time, mixing until a dough-like consistency forms. Add a few drops of peppermint extract and mix well. If you’re using food coloring, divide the dough into portions and mix in the colors of your choice.
3. Shape Your Mints

Sprinkle a clean surface with granulated sugar to prevent sticking. Roll small portions of the dough into balls, or flatten and use cookie cutters to create fun shapes. For a polished look, press each mint into a mold.
4. Let Them Dry

Place the shaped mints on a tray lined with parchment paper. Allow them to air-dry for at least 8–12 hours, or until firm. This step ensures your mints won’t be sticky and will hold their shape.
5. Store and Serve

Transfer the dried mints into an airtight container. They can be stored at room temperature for up to two weeks or refrigerated for longer freshness. Serve them as a refreshing treat or pack them into gift bags for a thoughtful homemade present.
Creative Variations for Homemade Mints
1. Flavored Mints
Experiment with different extracts, such as vanilla, almond, or citrus, to create unique flavors.
2. Colored Mints for Every Occasion
Add food coloring to match the theme of your event—red and green for Christmas, pastel hues for weddings, or bold colors for birthdays.
3. Chocolate-Dipped Mints
Take your mints to the next level by dipping them in melted chocolate for a decadent twist.
4. Herbal Infused Mints
Incorporate natural herbs like crushed basil or spearmint leaves into the dough for a gourmet flavor profile.
Tips for Perfect Mints Every Time
- Keep Your Surface Cool: Working in a cool environment prevents the dough from becoming too sticky.
- Taste as You Go: Adjust the peppermint extract to suit your flavor preference.
- Use Silicone Molds: For a professional finish, silicone molds can create intricate shapes and designs.
- Don’t Overmix: Mix just until the dough comes together; overmixing can make it too soft.
How to Use Homemade Mints
1. Party Favors
Pack mints into small bags or jars and use them as elegant party favors for weddings, baby showers, or birthdays.
2. Edible Decorations
Use shaped mints as edible decorations for cakes, cupcakes, or dessert platters.
3. After-Dinner Treats
Serve these mints after a meal for a refreshing palate cleanser.
4. Holiday Gifts
Pair homemade mints with other treats in a gift basket for a personal, thoughtful holiday gift.
FAQs About Mints Recipe
Q: Can I make mints without cream cheese?
Yes! You can substitute cream cheese with condensed milk or coconut cream for a dairy-free version.
Q: How long do homemade mints last?
When stored in an airtight container, they can last up to two weeks at room temperature or one month in the refrigerator.
Q: Can I freeze homemade mints?
Absolutely! Place them in a freezer-safe container, separating layers with parchment paper, and freeze for up to three months.
Why You’ll Love Making Homemade Mints
Homemade mints aren’t just delicious—they’re also incredibly versatile and easy to customize. Whether you’re a beginner in the kitchen or an experienced baker, this recipe allows for endless creativity. Plus, they’re cost-effective and free of artificial additives, making them a healthier alternative to store-bought candies.
Conclusion
Making your own mints at home is a delightful experience that combines simplicity, creativity, and flavor. With just a few basic ingredients and tools, you can craft these refreshing treats for any occasion. Whether you enjoy them as a quick snack, a thoughtful gift, or a party favorite, homemade mints are sure to impress. So why not try this mints recipe today and add a sweet, minty touch to your day?
If you loved this mints recipe, you’re in for a treat! Imagine exploring a world of delightful recipes that are just as simple, fun, and rewarding to make. From elegant desserts to crowd-pleasing appetizers, we’ve got a collection of creative and mouthwatering ideas waiting for you. Below, you’ll find vibrant images and captivating descriptions of recipes that will inspire your next kitchen adventure. Whether you’re planning a special celebration or just looking to try something new, these recipes are guaranteed to impress. Click on any that catch your eye and start creating magic in your kitchen today!
- 10 Must-Try Italian Cooking Recipes Loved by Chefs
- Mexican Cooking Recipes for Beginners: Simple Steps to Bold Flavors
- Easy Carnivore Diet Recipes with 5 Ingredients or Less
- Top 15 Carnivore Diet Recipes That Actually Taste Amazing
- 15 Delicious Cuisinart Ice Cream Maker Recipes You Need to Try
- Top 5 Sugar Free Ice Cream Flavors You’ll Love
- Copycat Chick-fil-A Waffle Fries Recipe – Step-by-Step Perfection
- How to Make the Best Bread Crumbs for Your Favorite Dishes
- How to Make the Perfect Ice Cream Cone : Tips, Tricks & Delicious Recipes
- Bluey Cake Tutorial: How to Create the Perfect Themed Cake for Kids’ Parties
- Swordfish Steak Recipe: How to Get It Perfect Every Time
- Princess Cake Recipe: How to Make the Perfect Swedish Prinsesstårta
- Nanalan Cake Recipe: How to Make This Adorable and Nostalgic Treat
- DIY Minecraft Cake: How to Make the Perfect Pixelated Treat
- Authentic Terra Massoud Recipe: A Step-by-Step Guide to Perfection

