Sourdough Sandwich Bread Recipe: A Perfect Loaf for Any Meal

There’s something special about sourdough sandwich bread—its tangy, hearty flavor and soft yet chewy texture make it a versatile choice for everything from classic sandwiches to a slice of warm toast. Whether you’re a seasoned baker or just starting out, following a Sourdough Sandwich Bread Recipe at home is not only satisfying but can elevate your daily meals.
In this article, we’ll take you step by step through the process of making the perfect sourdough sandwich bread, from understanding the ingredients to troubleshooting common issues. We’ll also share some useful tips to make sure your bread turns out just right, every time.
1. What Makes Sourdough Sandwich Bread So Special?
Before diving into the recipe, let’s explore what makes sourdough bread different from regular bread. Unlike typical sandwich bread, which relies on commercial yeast for leavening, sourdough bread is naturally leavened. This means it uses wild yeast and bacteria from the environment to ferment and rise.
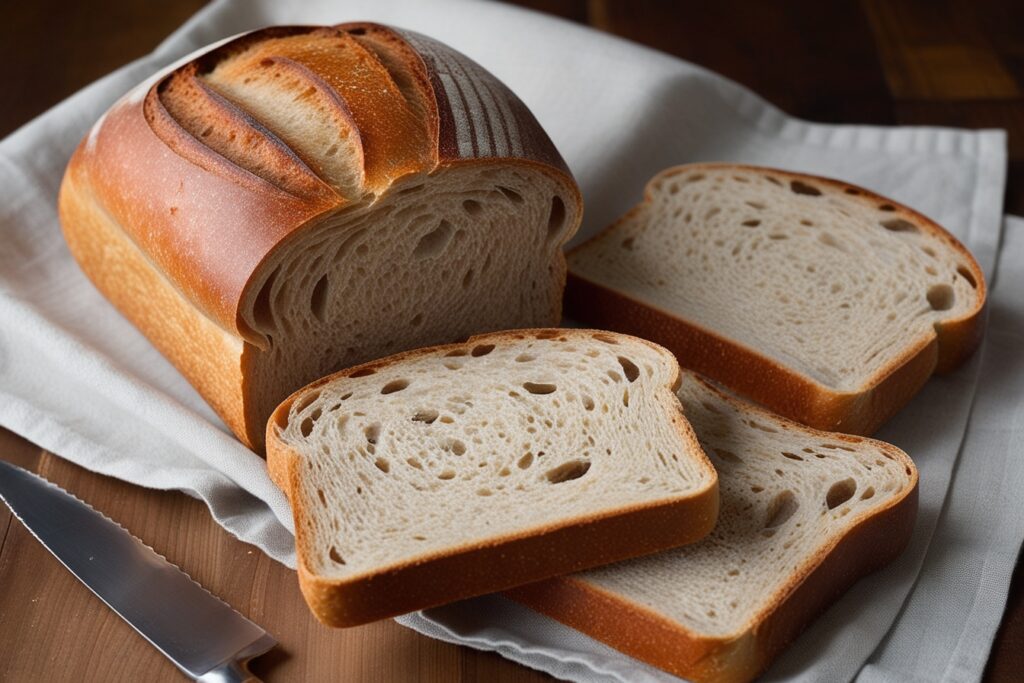
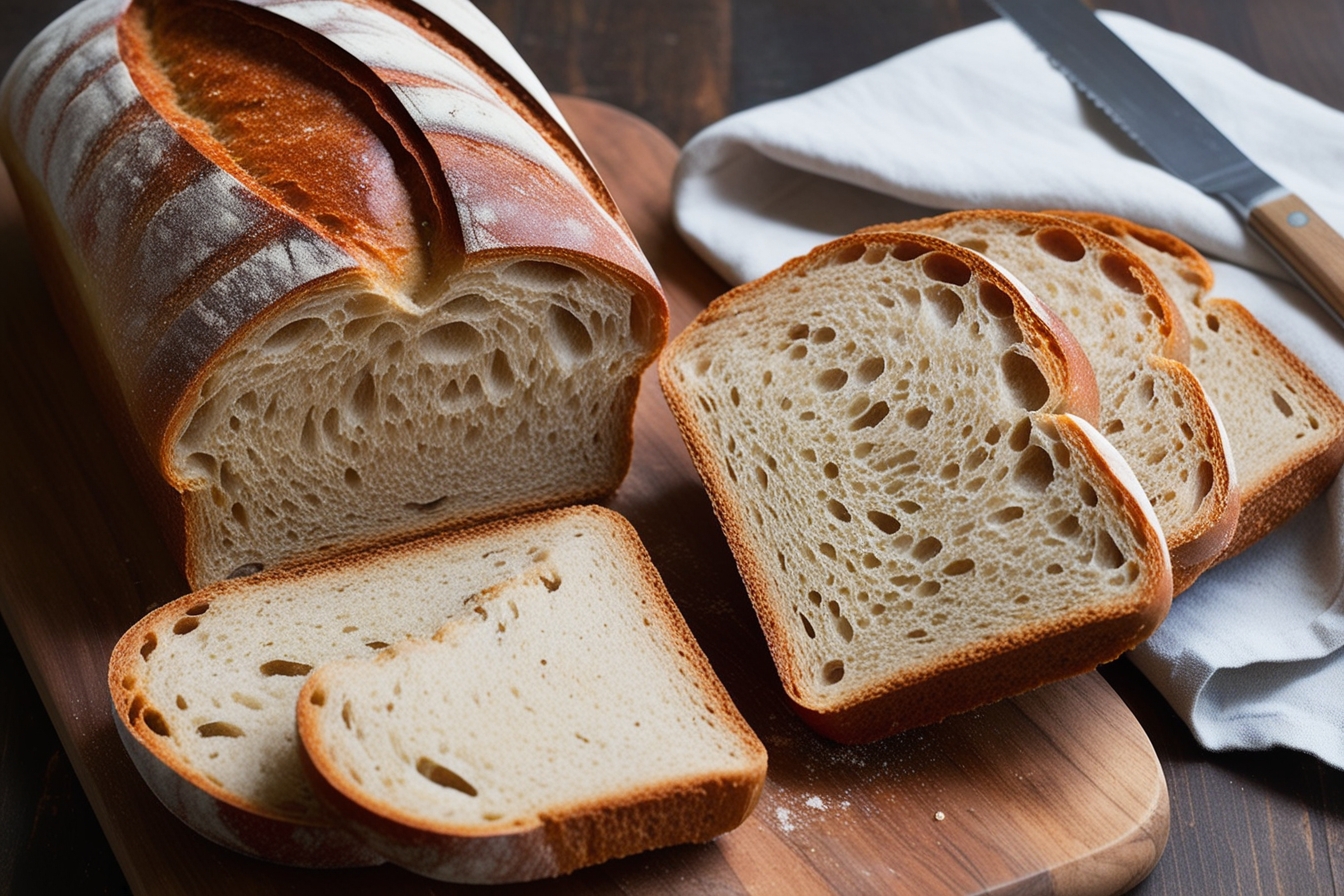
The fermentation process not only adds a tangy flavor to the bread but also improves its texture and digestibility. The result is a hearty loaf that’s perfect for sandwiches, toast, or just a simple slice with butter. Sourdough sandwich bread is known for its chewy crumb, crisp crust, and slightly sour flavor that’s the hallmark of traditional sourdough.
2. Ingredients You’ll Need for Sourdough Sandwich Bread

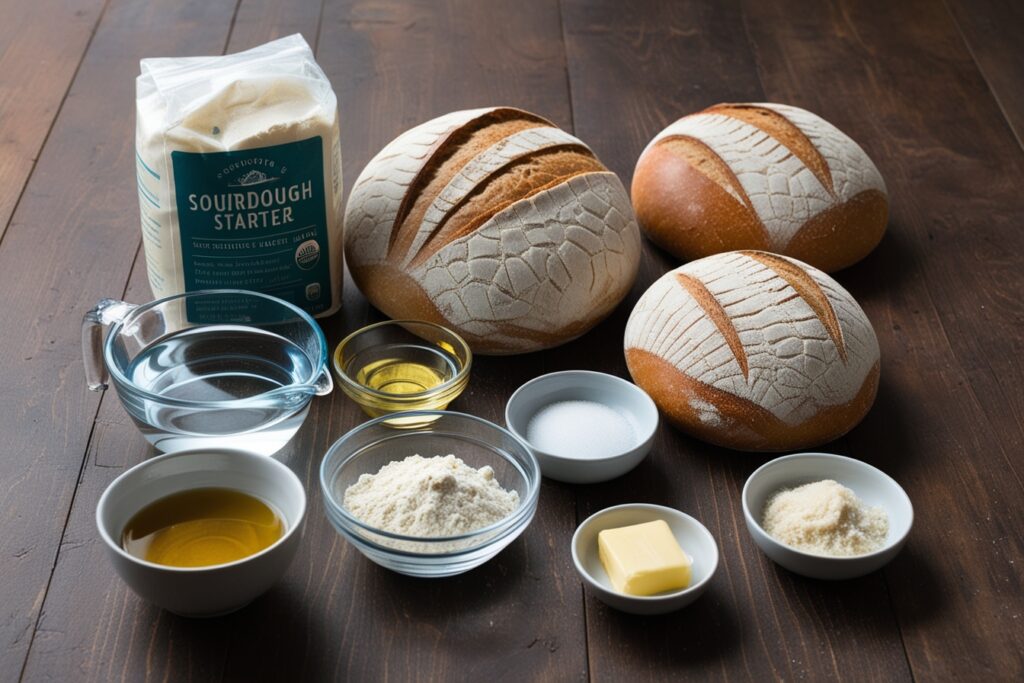
To create your own perfect sourdough sandwich bread, you’ll need a few basic ingredients:
- Active Sourdough Starter: This is the foundation of your sourdough bread. You’ll need a healthy starter, which you can make yourself or get from a bakery.
- Bread Flour: This type of flour is higher in protein, which gives your bread structure and chewiness.
- Water: Room-temperature filtered water is ideal for activating your starter and creating dough.
- Salt: Salt not only adds flavor but also strengthens the dough’s structure.
- Sugar: A small amount of sugar helps feed the yeast in the starter and accelerates fermentation.
- Butter or Oil: For a tender, soft crumb, adding a little fat to your dough makes a difference.
3. How to Prepare Your Sourdough Starter
If you don’t already have a sourdough starter, don’t worry! Making one from scratch is easy, but it takes a little patience. Here’s a simple guide to creating your starter:
1. Combine Flour and Water: Mix equal parts of whole wheat flour and water in a jar.

2. Let it Ferment: Leave the mixture at room temperature for 24 hours. Each day, discard half of the mixture and add equal parts of flour and water.

3. Wait for the Bubbles: After about 5-7 days, your starter should start bubbling and have a tangy smell. This indicates it’s ready for use.

Once your starter is bubbly and active, you’re ready to bake!
4. How to Make the Dough for Sourdough Sandwich Bread
Now that you have your sourdough starter, it’s time to prepare your dough. Here’s how to do it:
1. Mix the Ingredients: In a large bowl, combine 1 cup of sourdough starter, 1 1/2 cups of warm water, 3 cups of bread flour, 1 tablespoon of sugar, and 1 teaspoon of salt.

2. Knead the Dough: Mix until the dough comes together. Then, turn it out onto a floured surface and knead for about 10 minutes until the dough is smooth and elastic.

3. Add Fat: Once the dough is kneaded, add 2 tablespoons of softened butter or oil. Knead it in until fully incorporated.

4. First Rise: Place the dough in a greased bowl, cover it with a damp cloth, and let it rise for 4-6 hours, or until it has doubled in size.

5. Shaping the Dough for Sandwich Bread
Once the dough has risen, it’s time to shape it into a loaf:
- Shape the Dough: Gently punch down the dough to release any air bubbles. Roll it out into a rectangle, then fold in the sides and roll it tightly into a loaf shape.
- Place in Pan: Place the shaped dough into a greased 9×5-inch loaf pan, pressing it down gently to fit.
- Final Rise: Cover the loaf pan and let the dough rise for another 2-3 hours, or until the dough has risen just above the lip of the pan.
6. Baking Your Sourdough Sandwich Bread
Once your dough has completed its final rise, it’s time to bake the bread:
- Preheat the Oven: Preheat your oven to 375°F (190°C). A hot oven helps the bread rise properly while baking.
- Bake the Loaf: Place the loaf pan in the center of the oven and bake for 35-40 minutes. The top should be golden brown, and the loaf should sound hollow when tapped on the bottom.
- Cool the Bread: Let the bread cool on a wire rack for at least 1 hour before slicing.
7. Tips for Perfect Sourdough Sandwich Bread
- Use a Digital Scale: Measuring your ingredients by weight ensures precision and consistency.
- Feed Your Starter Regularly: Keep your starter active by feeding it every few days if you’re not baking regularly.
- Don’t Overproof: Overproofing can cause the bread to collapse, so always monitor the rise time closely.
- Add Seeds or Herbs: For extra flavor and texture, try adding sunflower seeds, sesame seeds, or herbs like rosemary into your dough before the final rise.
8. Troubleshooting Common Sourdough Issues
Baking sourdough bread can sometimes be tricky, but with these tips, you’ll be prepared for anything:
- Dense or Heavy Bread: If your bread is too dense, it could be because your starter wasn’t active enough or the dough wasn’t kneaded enough.
- Flat Loaf: If the loaf doesn’t rise well, try increasing the rise time or using a warmer place for proofing.
- Crust Too Hard: If the crust is too tough, try baking with a pan of water in the oven to create steam, which helps soften the crust.
9. How to Store Sourdough Sandwich Bread
To keep your sourdough sandwich bread fresh for longer, store it properly:
- Room Temperature: Store the bread in a paper bag or a bread box for 3-4 days.
- Freezing: Slice the bread before freezing it. Place the slices in a freezer-safe bag and freeze for up to 3 months. To thaw, simply toast or let it come to room temperature.
10. Creative Ways to Use Sourdough Sandwich Bread
Sourdough sandwich bread recipe isn’t just for sandwiches! Here are a few ways to use your homemade loaf:
- Toast: Make crispy, buttery toast for breakfast or snacks.
- French Toast: Dip slices in an egg mixture for a delicious breakfast treat.
- Grilled Cheese: The tangy flavor of sourdough pairs perfectly with melted cheese.
- Bread Pudding: Use stale sourdough bread to make a rich, comforting bread pudding.
Conclusion: Enjoy Your Homemade Sourdough Sandwich Bread
Making your own sourdough sandwich bread recipe is a rewarding experience. The process may take some time, but the result is a flavorful, soft, and tangy loaf that will make every sandwich taste better. By following this simple recipe and using quality ingredients, you’ll be able to create the perfect loaf of bread for all your meals.
If you’re ready to continue exploring the world of intense, flavor-packed dishes, be sure to check out more of our recipes. Embrace the thrill of cooking with bold ingredients and discover new ways to elevate your meals!

